In this guide you can learn the basics of painting with aribrush. The guide is suitable for everybody who allready started with painting with airbrushen or want to start.
This guide will show you the right handling of the airbrush, compressor and the standard tools that are needed to airbrush. At the end follows a short step-by-Schirtt tutorial for a simple airbrush paintings.
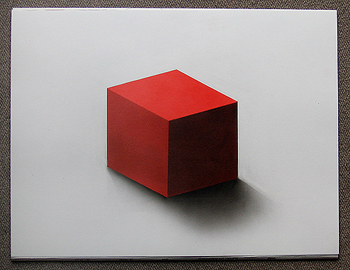
Depending on the strength of the air flow and the amount of color, you can paint a fine line with the airbush but also large areas. You can airbrush the colour opaque but also a transparent color film. In the description of the right handling of the airbrush I assume that an airbrush with a double action function is used - that means an airbrush which can regulate the airflow and color quantity independently.
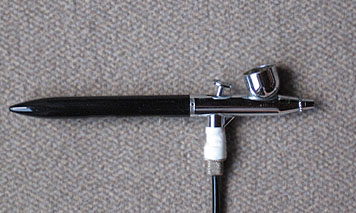

At airbrushes with a double action function the strength of the air flow can be adjusted by pressing the trigger (on the upper side of the airbrush). The stronger the trigger is pressed down the more air flows through the airbrush - the airflow get stronger. The precondition for this is, of course, that the compressor has enough compressed air in it and that a corresponding air pressure is set at the compressor.
The color flow can be regulated by moving the trigger backwards. When you pull the trigger backwards a needle is pulled back, which blocks normally the nozzle.
If you airbrush for the first time or your are just starting to learn to airbrush, you should first try out to paint with the airbrus a little bit. You will quickly get a feeling for the handling of the airbrush and soon the handling will become very intuitive.
The right handling of an airbrush with a double action function has been described above. To learn to paint with the airbrush it's not enough to know the right handling. It also requires the right technic.
It requires some exercising to airbrush a thin straight line. Basically you have to make sure that the color is sprayed dry. That means that the color has to be dry when it comes down to the painting ground, so that it doesn't run over the paper. If the color gleams on the ground, it is usually wet. This should be avoided, since the color on the painting ground can quickly run. You can avoid that by pressing the trigger of the airbrush less far backwards and / or a reduced the strength of the airflow.
A second exercise, which is not quite as easy as it initially sounds, is to airbrush a larger area in the same hue. It is easy it the hue should be airbrushed with full opacity. But it will be difficult if you intend to airbrush only a slight color film, as it happens quickly, that too much colour is sprayed on some spot. Such errors can hardly be removed or are even irreversible. Either you live with the unevenly colored area, or you airbrush the rest of the area in the same (wrong) intensity.
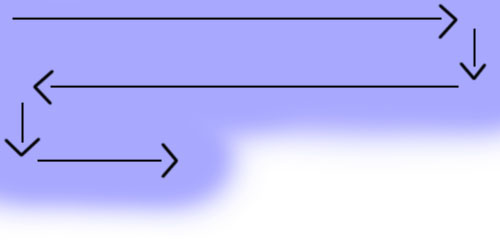
It's best if you airbrush large areas in snake-sprayed lines. You begin, for example, in the upper left corner with airbrushing, spray in a straight line to the right side, then a bit down, airbrush the second line from right to left and repeate that until the entire area is coloured. It may be that you have to airbrush several tracks until the entire area is coloured (see figure below).
Shadows are airbrushed simply with black paint. You should paint with a little water dilution to get a finer color spreading. And in addition, the area won't become too fast too dark during airbrushing.
Reflections, light edges, highlights, bright areas, etc. are made by airbrushing less paint so that the white of the paper can shine through. You can also airbrush with white paint, remove paint with an eraser (eraser pencil) or paint whith colour with a ordinary brush. Depending on the situation the one or the other method is more suitable for the desired effect.
So far to the basics of airbrushing. The main thing is that you get much practise and that you exercise a lot with the airbrush, if you want to learn to airbrush. And now we begin immediately with the promised step-by-step instructions for a small simple airbrush painting.
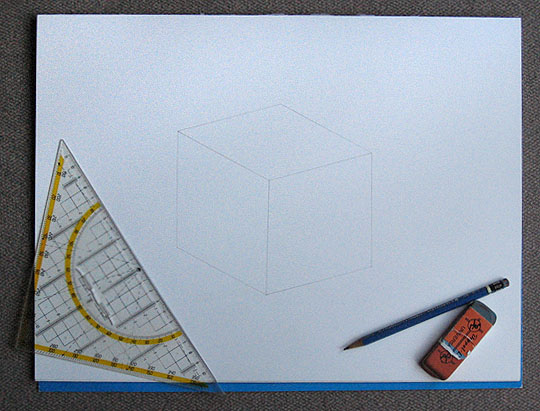
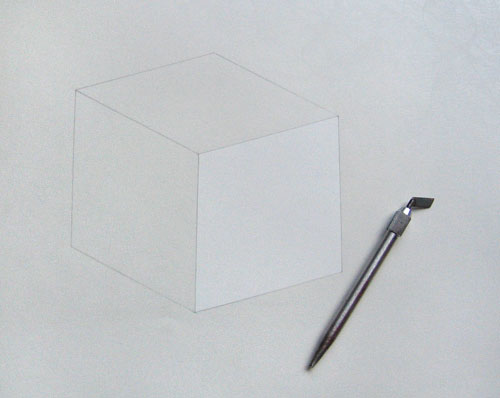
If you want to realise a picture with airbrush you should start with a presketching on the painting ground. In this simple guide we draw a cube. The drawing is best created with a hard pencil, as it's lines will be almost invisible. But don't imprint with the pencil to strong. You see the finished sketch in the image below.
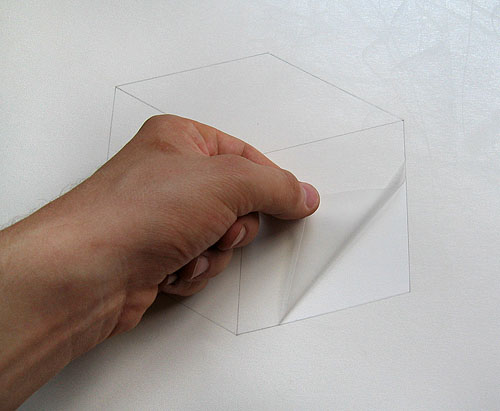
In the next step you can mask the picture with masking material (film). Therefore you stick the special airbrush masking film on the (airbrush) paper - at best so that no air bubbles are closed in under the film. Then the masking film can be cutted along the edges of the cube with a cutter. You should cut the film very careful that only the masking film will be cutted. Don't cut into the paper (or at least not too deep).
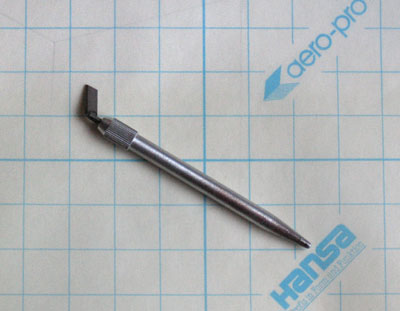
The image gets masked in this way to get sharp edges when you airbrush. If the image would be airbrushed without masking film, all objects would have blurred edges through the airbrush overspray (spray fog) and would painting the picture be more time consuming.
When the image is masked and the edges of the cube were cut, you can unmask the entire cube. That means that you can removes the masking film carefully in the area of the cube. Take care that your masking film won't be damaged and keep the pieces that you have removed, because you have to mask the cube with it again later.
This website is about how to draw and paint. You will learn to use pencil and brush and how to drawn and paint your own pictures.