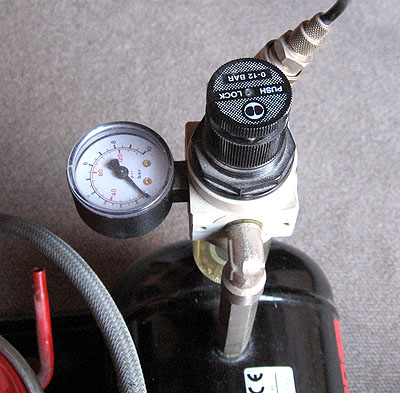
After the drawing is masked, you can begin with airbrushing. There you have to connect the airbrush first with the compressor (and of course the compressor to the outlet). The compressor has to be set on the operating pressure which depends on the size of the airbrush. To airbrush the cube I set the pressure e.g. to approximately 2 bar.
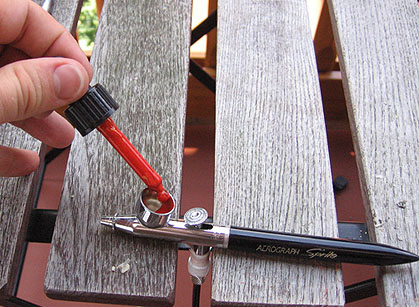
Now the airbrush can be filled with paint. You can put a few drops of paint into the paint pot on the airbrush. Not too much, because when you spray, the paint can and slop out of the airbrush and drop on the image. You can dilute the colour with a few drops of water to get a finer color look.
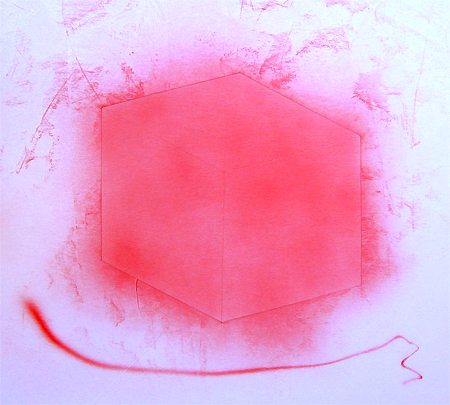
Now follows the first step of airbrushing the completely uncovered cube. As the rest of the paper is covered with masking film, we will later get a cube with sharp edges. Since the upper side of the cube is supposed to be somewhat brighter than the others, the color is not airbrushed to 100% opaque. Just airbrush a brighter hue. The color should be airbrushed as equally as possible and that's not as easy as it sounds like. As you see, my work wasn't perfect as well ;-) .
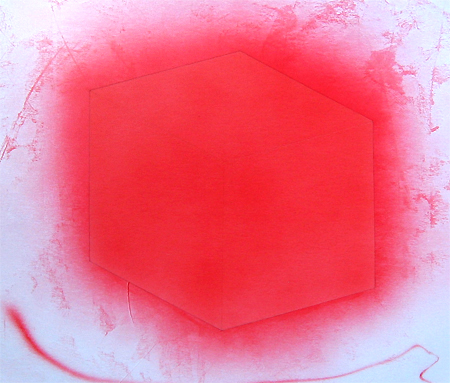
It is very effectiv to airbrush repeatedly over the image - that means you paint several layers of color over the paper. This technic can saves you from airbrushing too much colour at once and to get thus a too dark/strong hue. Furthermore you get a highter quality of the airbrushed colour .
When the upper side of the cube has the desired hue, it can be covered with masking foil again (but only the upper side). Then the two remaining sides of the cube have to be airbrushed again with red paint until they have the desired hue.
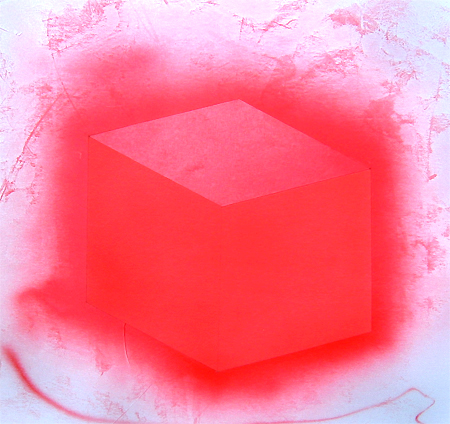
Now the shadows on the sides of the cube will be airbrushed. The left side should be slightly shaded, the right side has a stronger/darker shadow. Therefore we have to airbrush an even hue over both sides with black paint, the color red light abdunkelt. If you airbrush with black paint you should always be careful as black colour is very dominant and the surfaces gets quickly too dark. It's best if the paint is mixed with a little more - eg 50:50.
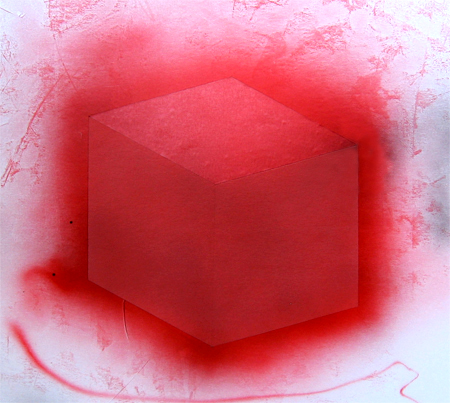
After this step, and the left side of the cube again escaped. But can the same pieces of Maskierfolie reuse, which previously has declined. The right side of the cube, which now only have unmasked, is now slightly darker geairbrusht. The area should not be completely black spray.
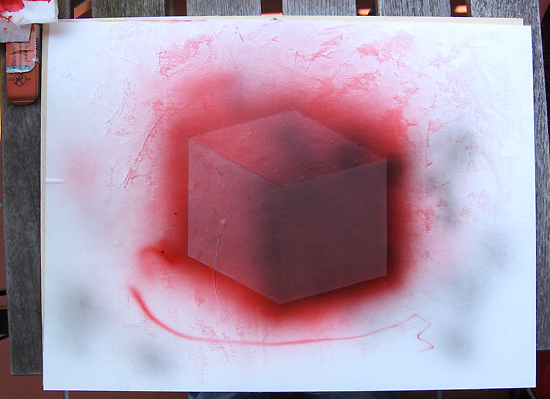
Now the shadow geairbrusht by the dice thrown to the ground. You use the whole cube masking, and the rest of the paper by the Maskierfolie exempt.
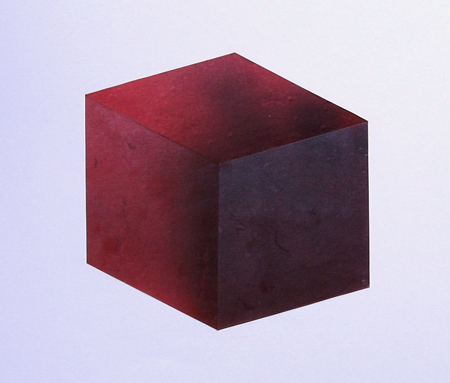
Now you can airbrush the main shadows of the cube with black paint. You should pay attention at the edges of the shadow something. If you want to you can also use masking film to avoid overspraying. You can work over the main shadow with a eraser and remove unnecessary paint.
Here you can see the finished airbrush paintings:
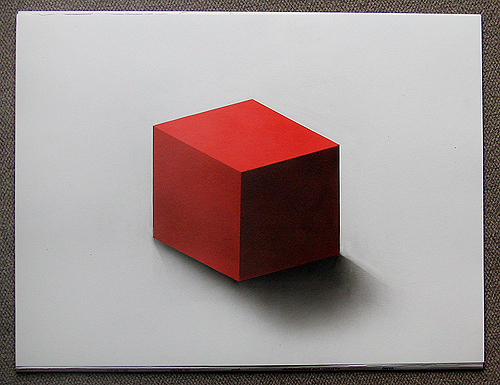
You try it at best yourself. Or dare yourself to airbrush a more difficult object if the cube is too boring for you. And always remember: To learn to airbrush you need a lot of practise.
This website is about how to draw and paint. You will learn to use pencil and brush and how to drawn and paint your own pictures.