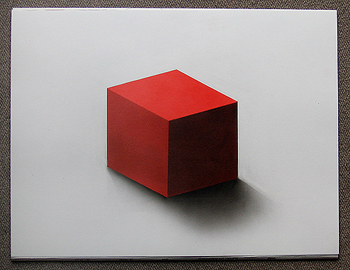
In this guide you can learn the basis of airbrushing. For those who have never heard about airbrush yet should be said the following word: With the airbrush you are painting paints with a spray gun and the help of air pressure a dosable colour fog on the painting ground. The air pressure is normaly produced by a compressor.
Below you will find more about functions and technic of the airbrush. In addition, you can learn something about the history, painting equipment and airbrushing technics. Have fun.
Actually it can be said that the history of the airbrush began already in the Stone Age. Back then people painted demonstrable with the help of wooden tubes, through which the color was blown.
The first airbrush pistol was designed by the American Abner Peeler in 1878 and patented in April 1882. First the airbrush art was rejected by museums and art lovers with the argumentation that the airbrush is a mechanical device and the painting ground is not be touched by airbushing. Only in 1970, after already art forms such as photo realism, or the hyper-realism have been developed, airbrush was recognized as an art form. Famous airbrush artists are e.g. H.R. Giger, Hajime Sorayama or Luis Royo.
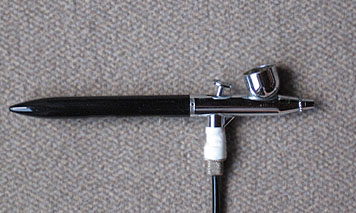
The airbrush is probably the most important thing at airbrushing. With the airbrush you will spray the paint on the painting ground. Below you will find more about the airbrush technic.

The compressor provides the airbrush with the needed air pressure for painting. There are also small cans with compressed air, but those are quickly empty. Or gas bottles with compressed air, which can be refilled. The most comfortable thig is a compressor. A compressor produces a constant air pressure and gets the power out of the power outlet. There are compressors in variable sizes. Depending on how big the airbrush is and/or how many airbrushes must be supplied simultaneously with compressed air, there has to be a correspondingly large air compressor with a large air cell.
For normal pictures simple illustration colors are used - mostly acrylic paints. You can differ between transparent paints and opaque paints. However, there are also special textil paints, body painting paints, paints for nail design, model paints, etc.
Airbrush can be don with various painting grounds like paper, metal (car), textiles, finger nails, wood, walls, etc. As for the paper, you should make sure that you use special airbrush, as this will not be damaged when you remove the masking material. You should always use good quality paper, even if it is slightly more expensive. Who saves at the paper, saves at the wrong end.
Typical for airbrushing is the use of film (masking material) and templates. Thus you obtain sharp edges of painting objects. To paint sharp edges is otherwise not possible with airbrush as the coloure is sprayed on the ground and the results a allways a spraying mist. Or you can receive a certain contour, which would be very diffcult to realise without a template.
Film can simply be pasted on the painting ground. Then you have to make the area, in which you want to paint, free of the film by cutting and removing the film. Templates can be easily set up to cover the areas which should not be sprayed.
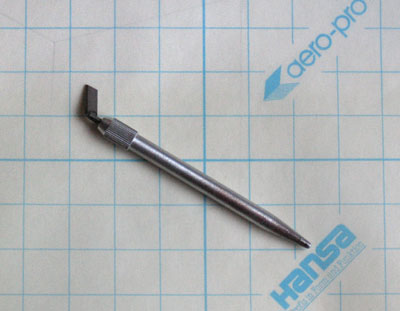
Cutter and knives are used to cut the film or to make templates.

A pencil can be used to create the predrawing on the paintingground. With crayons, colored pens and brushes you can draw or paint details on the picture, which would be very difficult to paint with the airbrush.
With the eraser or a eraser pen airbrush paints can be removed, for example to create light effects. There are also electric eraser which make working easier.
The function of a airbrush can be described in a simple and understandable statement as follows:
At airbrushing the color is floated or hoovered out of the airbrush by an airflow. At the nozzle of the airbrush the paint is blown forward and builds spray stream. The airflow is e.g. generated by a compressor, with which the airbrush is connected. The airbrush paint is attached in a pot / container, on the airbrush. The color containers is sitting either (with a few exceptions) on the top of the airbrush, so that the color can stream into the airbrush or it is fixed at the bottom, so that the paint is sucked through a small tube to the top.


There are Airbrushes with different adjusting possibilities. At airbrushs with a single action you can regulate only the airflow with the help of the trigger. This means that by pressing the trigger the airflow is increased and thus a stronger color jet is sprayed. When you release the trigger, it will be set to the starting possition by a spring and the air valve is closed again.
With airbrushs with single action and a needle, you can regulate the color quantity that is sprayed by
At Airbrushes with double action function you can change the position of the needle and the airflow through the trigger constantly, without interrupting the airflow or the spraying of color. My recommendation for painting pictures or airbrushing is therefore a airbrush with double action function (I personally own only such airbrushs).
So much about the simplest fundamentals and basic of airbrush art. In the next term, further guids to the topic "painting with airbrush" will be added to the art instructions. Among them will also be a guide about airbrush handling and then a step-by-step instructions for a complete airbrush painting.
So see you soon!
This website is about how to draw and paint. You will learn to use pencil and brush and how to drawn and paint your own pictures.