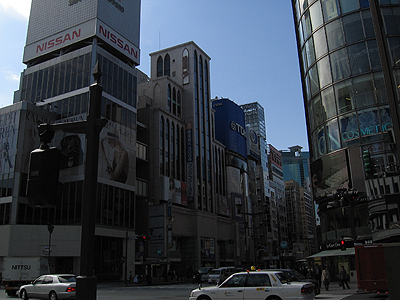
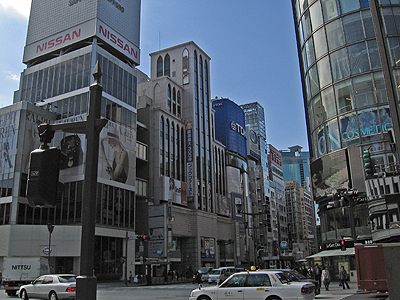
It can happen sometimes that a photo you made is unfortunately too dark. But how can a too dark picture be brightened up? These instructions describes how to lighten up underexposed pictures with the help of digital image manipulation.
There are three methods described which can be used to lighten up too dark photographs with the help of Adobe Photoshop Elements:

The intention is to adjust the shadows (the dark areas of the photo) and the lights (the bright areas of the photo) separately and optimize the picture to overall.
The dialog box needed to get there can be found on the top menu bar Enhance / Adjust Lighting / Shadow/Highlight.
Now you can adjust the regulator "Lighten Shadows" (for example) to 45%. This brightens up all the dark areas of the photo, while the bright areas remain unchanged. The controller "Darken Highlights" influences on the other hand only the brighter areas (such as the sky) and makes them darker. You can also adjust the midton contrast. The contrast was enhanced in this example.

You can adjust all the parameters of this picture manipulation according to your own taste of course. The best thing will be to try it on your own and play around with the various settings. To some people the photo will appear allready too bright while others may feel the pichture is still too dark. So just give it a try.
This method too light up dark pictures is also well appropriate to make the sky in the background appear deeper. You simply have to darken the highlight.
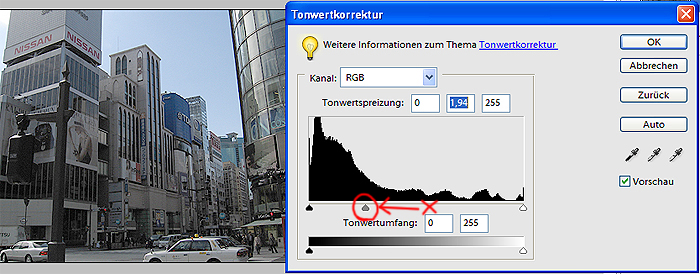
A second method to light up too dark photos with the help of Adobe Photoshop Elements is the Levels. The required windows can be reached throug the menu bar Enhance / Adjust Lighting / Levels.
In the dialog box Levels are several sliders available which can change the brightness and darkness of the picture. To the light up the photo of our example, you just have to move the central slider underneath the graph to the left. The setting of the sliders are shown in the figure below.
Finally a simple way to a brighten up pictures: The multiplication of layers.
Therefore just open the picture that is supposed to be brightened up in Adobe Photoshop and duplicated the layer through the menu Layer / Duplicate. The two layers should diplayed in Photoshop in the layer menu on the right side of the screen. If the layer menu is not displayed, you can open it through the menu Window / Layers (simply set the hook).
Now you have to marke the newly created layer and set the blending option in the layer menu (dialog box above) from "normal" to "screen" (negativ multiplication). Through this setting the picture becomes brighter. If you still want to make the picture brighter just multiply the layer a second time. With the help of the opacity slider (on the right to the option box Blending Modes) you can adjust the strength or weaken of the brightening.
I hope you liked the tutorial and it could help you. At best you just get a photo that is too dark and try to light it up with Adobe Photoshop own your own.
This website is about how to draw and paint. You will learn to use pencil and brush and how to drawn and paint your own pictures.