I have already written an article about drawing landscape pictures, in which I shared some tips and tricks. Here I will show you how to draw a landscape step-by-step.
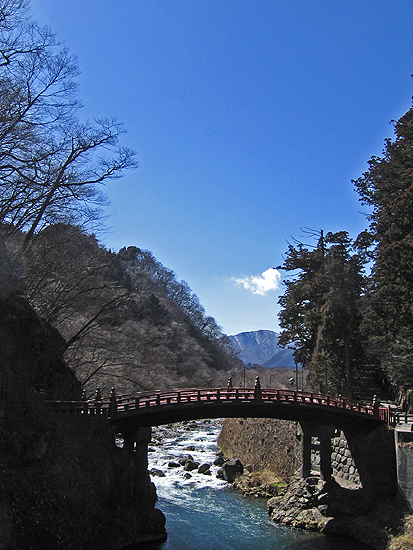
I copied the picture from a photo I took in Japan (Nikko). The central motif of the landscape is a bridge - the Shinkyo Bridge, which crosses the Daiya River in Nikko.
So here is my photo template for the landscape drawing:

I start the drawing with a rough sketch on the drawing board.
.jpg)
If the proportions are reasonably right, the preliminary drawing can be worked out a little better. You simply draw in more details and draw one or the other object in the landscape with a little bit more pressure on the pencil.
.jpg)
If everything fits so far, you can start drawing. Trees are usually a somewhat ungrateful task in landscape drawings for beginners. But it is a great example of what drawing means – simplification. That means, you have to think about how much you simplify the trees in the drawing - after all, you can't draw every single leaf and branch. The trees should not be drawn without any details if you want to draw a more realistic landscape picture. You just have to find your own way and your preferred grade of detail that you are comfortable with.
In the picture below you can see the landscape, in which a good part has already been worked out.
.jpg)
That’s the way you go on with your work. After 1, 2 or 3 hours of work, the drawing is finishe. What I particularly like about this drawing are the rocks in the water and on the pillar of the bridge.
.jpg)
I hope you enjoyed these step-by-step instructions for drawing a landscape picture and I could help you a little on the way of learning to draw landscapes.
This website is about how to draw and paint. You will learn to use pencil and brush and how to drawn and paint your own pictures.